How to Use and Set Up a Solana Ledger Wallet
If you hold SOL or interact with decentralized apps on Solana, a hardware wallet is one of the most effective ways to protect your assets. Think of a Ledger as a tamper-resistant signing device: your private keys never touch your computer or the web browser, yet you can still send SOL, manage SPL tokens, stake, and use dApps with confidence. This guide walks you through setup, daily use, and the subtle details that matter on the Solana blockchain—derived from years of hard-won experience in the Solana ecosystem.
Table of Contents
🧭 Why a Ledger for Solana?
Solana’s low fees and fast finality invite a lot of activity—NFT mints, MEV-sensitive trading, and high-throughput DeFi. That richness comes with risk: malicious websites, fake token mints, and misleading transaction prompts. A Ledger device reduces those risks by keeping your seed phrase offline and requiring on-device confirmation for every signature. Even if your laptop is compromised, the attacker still needs your Ledger to sign.
Key benefits at a glance
-
- True self-custody: Your 24-word seed (BIP39) lives only on the device and your physical backup card.
- ed25519 support: Solana keys use ed25519; Ledger’s Solana app derives and signs with the correct curve.
- Human-in-the-loop: Transactions must be approved on the device screen, reducing “fat-finger” and phishing risks.
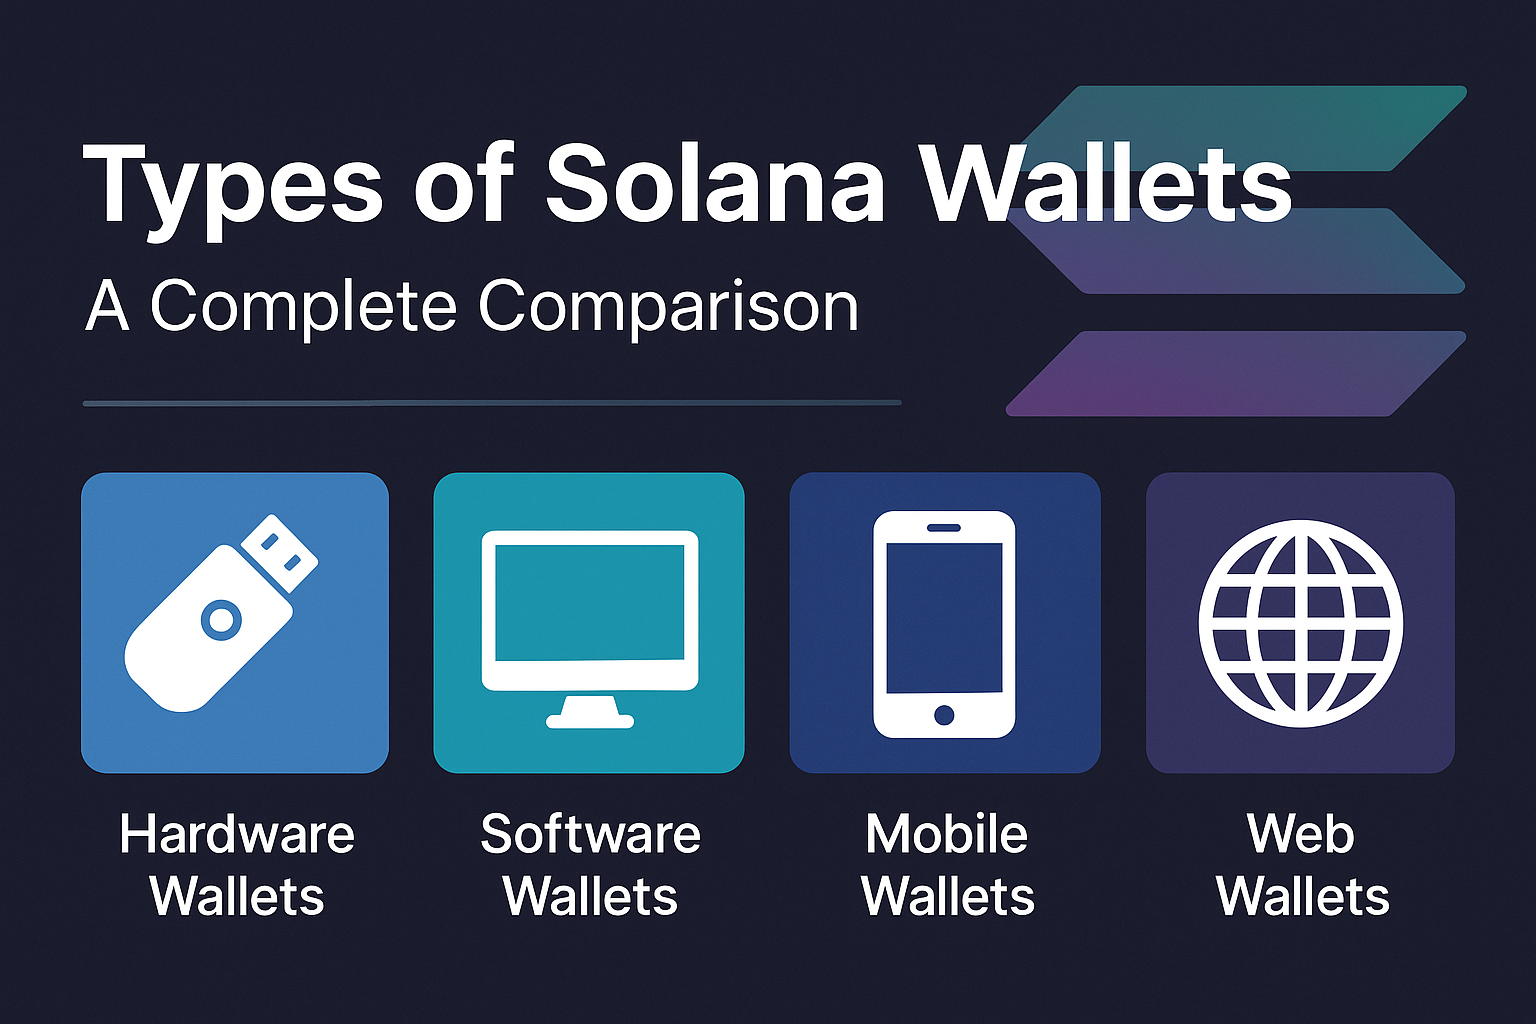
- Compatibility: Works with leading Solana wallets to manage SOL and SPL tokens, connect to dApps, and stake.
🧰 What You’ll Need
- A Ledger device (Nano S Plus, Nano X, or Stax).
- A data-capable USB cable (Bluetooth on Nano X is not used for Solana signing; you’ll connect via USB).
- Ledger Live installed on your computer to manage apps and firmware.
- A modern Chromium-based browser (Chrome or Brave) for the most reliable WebHID connection to wallets and dApps.
- A Solana wallet that supports hardware devices (e.g., Solflare or Phantom).
- A small amount of SOL for fees and account initialization when you first receive, send, or stake.
⚙️ Step-by-Step Setup
1) Initialize and back up your Ledger
- Unbox, power on, and follow the device prompts to create a PIN. Choose one you’ll remember but others won’t guess.
- Write down your 24-word recovery phrase on the provided card. This is your master key. Store it offline in two separate, secure locations. Never digitize it (no photos, cloud notes, or printers).
- Optionally, set up a passphrase (25th word) for a hidden wallet. Use this only if you truly understand passphrase workflows; losing it is equivalent to losing your funds.
2) Install Ledger Live and the Solana app
- Install Ledger Live (desktop) and connect your device via USB.
- Update firmware if prompted. Firmware updates patch bugs and strengthen security.
- Open the Manager tab and install the Solana app on your device. The device screen will confirm the installation.
Tip: Ledger Live itself doesn’t manage SOL transactions day-to-day; you’ll use it mainly to install apps and update firmware. Daily Solana use happens via a Solana wallet such as Solflare or Phantom.
3) (Optional, advanced) Enable Blind Signing when a dApp needs it
Some complex Solana transactions (certain DeFi interactions, NFT mints, or token-extension features) include data the device can’t fully parse. In those cases, you may need to enable Blind signing in the Solana app’s settings on the device. Turn it on only when needed and disable it afterwards. Always read the on-device summary before approving.
4) Connect your Ledger to a Solana wallet
🔗 Solflare (example flow)
- Go to the Solflare web app or open the browser extension.
- Choose “Connect hardware wallet” → Ledger.
- On your Ledger, open the Solana app so it says “Solana Ready”.
- When prompted, choose (or confirm) the derivation path and pick your first account. Common Solana paths follow:The coin type
501'corresponds to Solana. If you later use multiple wallets, stick to one pattern per account to avoid confusion. - Solflare will display your Ledger-derived address; you can verify it on the device (highly recommended) via “Receive” → “Verify on Ledger”.
🪄 Phantom (example flow)
- Open Phantom → Accounts → Add/Connect → Connect hardware wallet.
- Plug in your Ledger, open the Solana app, and follow the prompts to add your first address.
- Phantom will show your Ledger account in the sidebar. Use “Show on Ledger” when receiving to verify the on-device address.
📥 Receiving SOL and SPL Tokens
To receive SOL or any SPL token (USDC, BONK, etc.), click Receive in your wallet, select the asset, and then verify the address on your Ledger. Only copy addresses after the device displays the same value—this protects you from clipboard hijackers.
The first time you receive a specific SPL token, your wallet may create an Associated Token Account (ATA). That account is a standardized token-specific sub-account owned by your main SOL address. Creating an ATA costs a tiny amount of SOL; once created, the token can be received without extra steps.
📤 Sending SOL and Tokens (What You’ll See on the Ledger)
When you click Send in your wallet, you’ll prepare the transfer on the computer, but the critical moment is the Ledger review. Expect to see:
- Transaction type (e.g., System transfer, Token transfer). For blind-signed operations, you may see a generic message; proceed only if you initiated the action.
- Destination address (or abbreviated version). Confirm it matches what you intended.
- Amount and (for tokens) a reference to the token mint or ticker your wallet resolves.
- Fees summarized by your wallet; Solana also uses priority fees in busy periods. Your wallet handles these automatically; you simply approve the final transaction on the Ledger.
Approve only when the on-device details align with your intent. If anything looks off, reject and double-check the destination and the webpage.
🌱 Staking SOL from a Ledger
Staking on Solana is non-custodial: you delegate your SOL to a validator, but funds remain in your stake account under your control. With a Ledger, you sign the delegation transactions securely.
How staking works on Solana (quick mental model)
- You create a stake account (a special on-chain account owned by your keypair).
- You delegate it to a validator. Rewards accrue to the stake account.
- Activations and deactivations happen over epochs (regular network intervals). After you “undelegate,” SOL becomes fully liquid once the stake is deactivated and withdrawn back to your main wallet.
Example: staking 10 SOL via Solflare + Ledger
- In Solflare, click Stake → choose a validator. Look for a track record of uptime and a fair commission rate.
- Enter 10 SOL and confirm. Your Ledger will prompt you to approve creation of a stake account and the delegation instruction.
- Post-confirmation, the stake shows as “activating.” Rewards start after activation. You can later “redelegate” or “undelegate” using the same wallet flow, with signatures on the Ledger each time.
Note: You can split a stake account to diversify across multiple validators. Each operation will require a Ledger signature.
🧩 Using dApps with a Ledger (DeFi, NFTs, and More)
Solana dApps (DEXs, launchpads, games, governance portals) integrate wallets through the Solana Wallet Adapter. Your Ledger sits behind your wallet as the signing authority. A typical flow:
- Open the dApp in a supported browser → click Connect wallet → choose your wallet (e.g., Solflare, Phantom).
- Select your Ledger-backed account from the wallet.
- Initiate an action (swap, mint, vote). The wallet simulates the transaction and displays a preview.
- Your Ledger prompts for approval. Review carefully and approve.
For complex programs, your Ledger screen may show limited fields or request Blind signing. Only proceed if you initiated the action and trust the dApp. As a best practice, keep a smaller “hot-DeFi” Ledger account separate from your long-term vault account; Solana’s low fees make multi-account setups painless.
🧠 How Keys and Derivation Paths Work on Solana
Solana uses ed25519 keypairs (as opposed to secp256k1 used by Ethereum). Ledger adheres to the BIP44 standard with Solana’s registered coin type:
Different wallets default to slightly different paths, but both m/44'/501'/0' and m/44'/501'/0'/0' generate the same first keypair only if implemented identically—do not assume interchangeability. The safest route is to choose one wallet, note its path, and keep using that wallet/device pair for that address. If you must migrate, export and compare the public address (never the seed) and verify on the Ledger screen before moving funds.
🧪 Mini Case Studies
Case 1: The “Vault + Spending” pattern
A long-term holder uses two Ledger-derived accounts:
- Vault: Holds the majority of SOL and long-tail SPL tokens. Rarely connects to dApps. Blind signing kept off.
- Spending: Smaller balance for daily swaps, mints, and experiments. Blind signing enabled only when necessary.
Result: reduced attack surface for core funds without losing Solana’s speed for everyday use.
Case 2: Staking for stable rewards
A validator-agnostic user delegates 80% of their SOL to two reputable validators and keeps 20% liquid for trading. They split stakes into two accounts so they can redelegate one without touching the other. All transactions are verified on-device; dApp connections use read-only modes whenever possible.
Case 3: Token collector sanity check
Before receiving a new SPL token from a partner project, a user asks for the token mint address, not just a ticker. They paste that mint into their wallet’s “add token” flow and verify the on-device address before first receive. This avoids common “ticker squatting” scams in the Solana ecosystem.
🛡️ Security Playbook for Solana + Ledger
- Verify addresses on device. Always use “Show on Ledger” for receive addresses.
- Keep firmware and the Solana app updated. Updates often harden parsing and UX on the device screen.
- Be cautious with Blind signing. Enable it only when strictly required, and disable it afterwards.
- Use known URLs. Bookmark dApps and your wallet to avoid phishing. Prefer links from official docs or repositories.
- Separate accounts by risk. Vault account for long-term holds; spending account for experimentation.
- Back up your 24 words safely. Store two physical copies in separate places; consider a metal backup.
- Never type your seed online. If you need to “restore,” restore onto a new Ledger—not into a software wallet.
- Close Ledger Live when using dApps. On some systems, Ledger Live can occupy the USB path and block the browser connection.
🧯 Common Issues & Quick Fixes
- “App not open” on device: Open the Solana app on the Ledger before connecting your wallet or dApp.
- Browser can’t find the Ledger: Use Chrome/Brave, try a different USB port/cable, and ensure the device is unlocked.
- “Failed to open HID device” or “TransportError”: Quit Ledger Live (it sometimes conflicts), reconnect the device, and retry.
- Transaction won’t sign: Update firmware and the Solana app; some new instruction types require newer parsers. If the dApp explicitly requires blind signing, enable it temporarily in the Solana app settings on the Ledger.
- Address mismatch across wallets: Check the derivation path. Stick to one path per account and verify the displayed address on the device before moving funds.
🧭 Working with SPL Tokens Like a Pro
SPL is Solana’s token standard. Each token is defined by a mint address, not just a symbol. Wallets map symbols to mints, but the mint is the source of truth.
- When adding a new token, paste the mint address provided by the issuer and let your wallet create the associated token account if needed.
- When sending, confirm that the token you’re sending matches the mint you expect. Your Ledger will confirm the token transfer instruction (or request blind signing if unparsed).
- Be wary of unsolicited token airdrops; many are spam or phishing bait that try to lure you into signing malicious transactions.
⚡ Fees, Priority Fees, and What the Ledger Actually Signs
On Solana, your wallet constructs a transaction with one or more instructions (e.g., transfer SOL, swap via a DEX program). It also chooses compute limits and an optional priority fee to improve inclusion during heavy load. Your Ledger’s job is to:
- Display a summary of the transaction (to the extent it can parse it).
- Sign the transaction with your private key on the device.
The fee calculation happens in the wallet; the Ledger ensures the signature cannot be produced without your approval. If a dApp is unusually expensive or complicated, you’ll see it reflected in the wallet preview before the device prompt.
🧭 Advanced: Multiple Accounts and Organization
Solana’s fee model and speed make it easy to keep coin-labeled or purpose-labeled accounts:
- Account 0 (Vault) — staking + long-term holds.
- Account 1 (Spending) — trading and mints.
- Account 2 (Team/Operations) — multisig admin (e.g., via a DAO or squad tooling), with tightly controlled access.
Within a wallet like Solflare or Phantom, you can name accounts so you see “Ledger – Vault (m/44’/501’/0′)” at a glance. This reduces mistakes when signing.
📈 Optional: Notable Trends in the Solana Ecosystem
Solana continues to push throughput and user experience, and wallets keep up by improving simulation, transaction previews, and hardware-wallet UX. On the dApp side, you’ll see more sophisticated token features (e.g., token extensions), improved staking dashboards, and streamlined flows for cross-program actions. For Ledger users, this means more transactions are “parsed” on-device over time—fewer blind-sign scenarios and clearer prompts as standards converge.
✅ Final Checklist
- ✔️ Ledger initialized, PIN set, and 24-word seed backed up offline.
- ✔️ Ledger Live installed, Solana app added, firmware up to date.
- ✔️ Hardware wallet connected to Solflare or Phantom; address verified on device.
- ✔️ Small SOL balance on hand for fees and token account creation.
- ✔️ Staking plan in place (one or more validators; split stakes if desired).
- ✔️ Blind signing off by default; only enable when absolutely needed.
- ✔️ Separate accounts for vault vs. spending to compartmentalize risk.
📣 Wrap-Up
A Ledger turns your Solana journey into a security-first experience without sacrificing speed or flexibility. Install the Solana app, connect your hardware wallet to a trusted wallet like Solflare or Phantom, verify addresses on-device, and keep blind signing to a minimum. From there, you can confidently receive, send, stake, and explore the Solana ecosystem—with the peace of mind that your keys never leave the safe harbor of your device.
Have a specific setup question—or want a second pair of eyes on your staking plan or account structure? Drop your scenario and I’ll walk through the exact steps, pitfalls, and best practices tailored to your use case.
Ledger setup can feel like overkill for small amounts, but once your SOL grows, it’s a no-brainer.
Great walkthrough! The Phantom + Ledger combo works perfectly once you set it up right.
This should be required reading for anyone new to the Solana ecosystem. Simple, direct, and actionable.